|
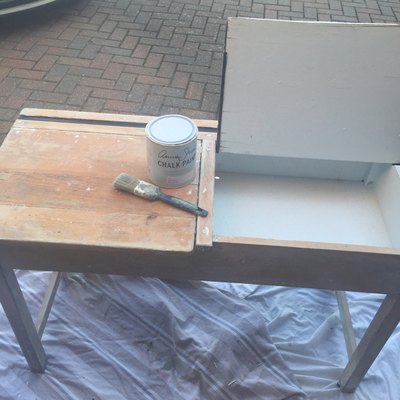
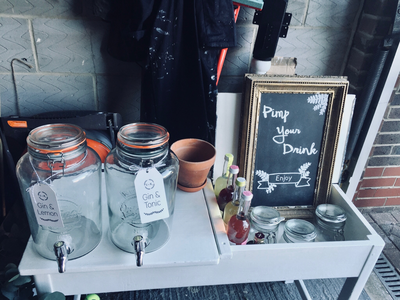
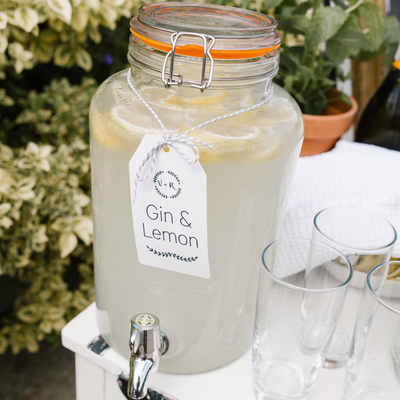
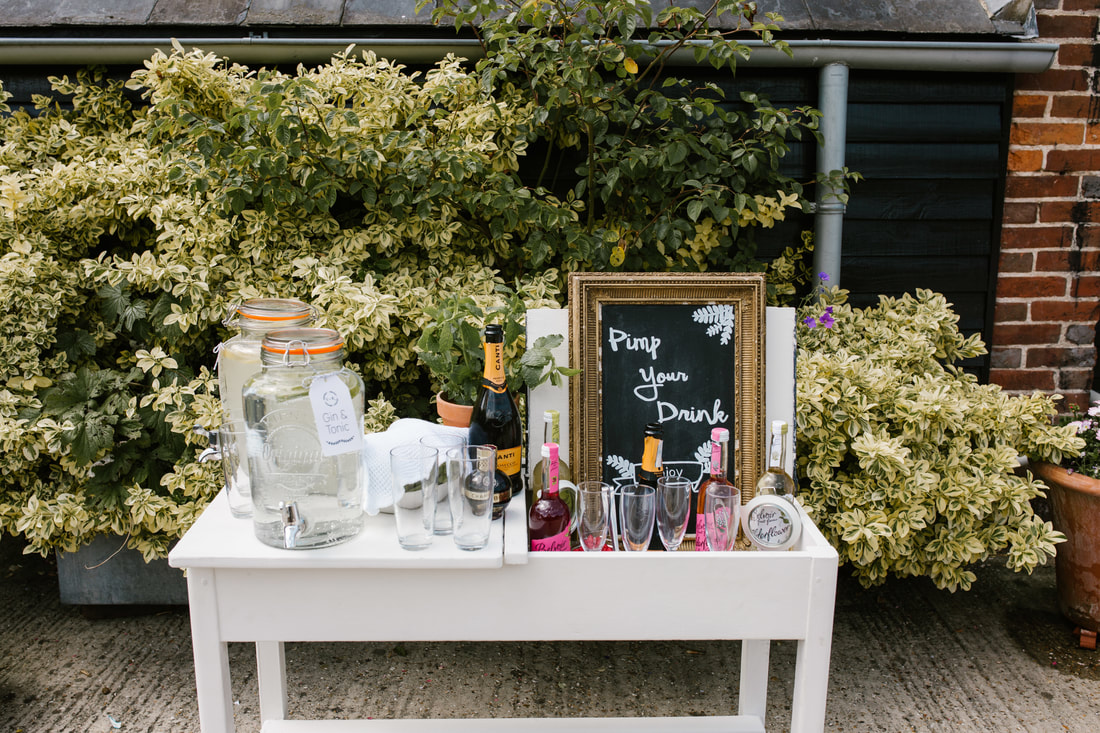
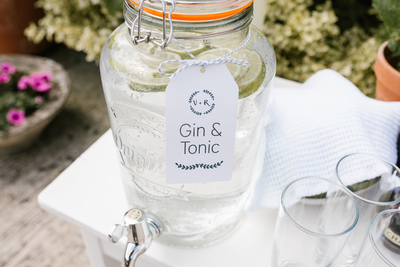
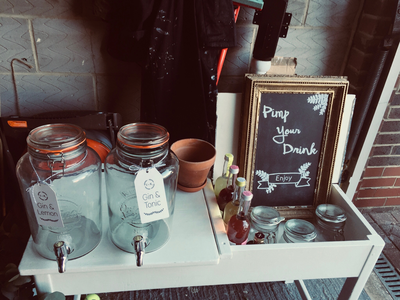
I love prosecco! We agreed early on that we were going to have a “pimping station” at the wedding and the idea grew from there. I was looking for something a little different to a standard table for this, then on eBay I found an old school desk for 99p. Usually when I find amazing things on eBay they end up being the other end of the country, but this was just 20mins drive from work! I ended up paying a whole £10 and the guy I picked it up from when very confused as to why I wanted it, it was in pretty bad condition. It was covered in glittery fairy stickers and a few dinosaur ones (which I couldn’t get off so painted over) and it had been left in a shed for a year, so was looking a little sad for itself. So after removing as many stickers as possible, I sanded it down and cleaned it up. I then turned to my trusty Annie Sloane chalk paint. After two coats of paint, which dries very quickly and then added a layer of clear wax with a lint free cloth, this protects the paint and stops the chalk going everywhere. I did a few trials of how we wanted it to look on the wedding day - apologies for the messy garage. We filled the two big Kilmer jars with, as the labels show - gin! The terecotta pot had a mint plant I it which my dad picked up the morning of the wedding so it was fresh. We filled the three small jars with strawberries, raspberries, lemon and lime slices, again purchased the morning of the wedding. We chose a few chordials and Chambord raspberry liquor, they all fit nicely in the old school desk. It was such a hit on the day of the wedding! And almost all the gin went!
0 Comments
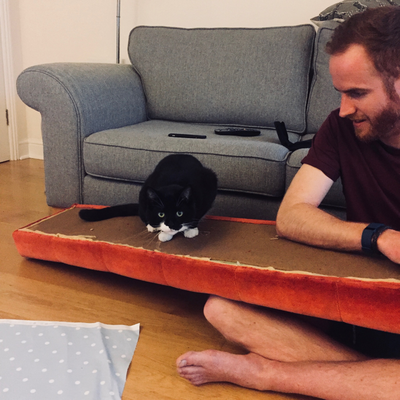
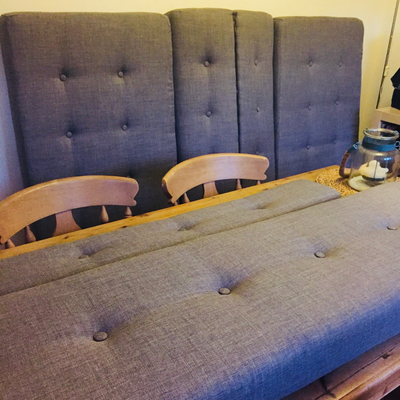
 I don’t have particularly nice handwriting, Robbie has the art of beautiful script writing as he has to teach five year olds, but I spend my days typing and scribbling illegible notes that only I can read. However Pinterest has shown me the beauties of chalkboards and I wanted to be able to achieve that look. So I set about finding how I could do it, I found a tutorial online and gave it a go. Step one: Print onto paper that you want to write and the size that you want it. Step two: Using a piece of chalk cover the back of the paper, the side that will go onto the board. Step three: Position and tape down the paper. Step four: Using something pointed, but that won’t rip the paper (I used a blunt pencil) trace the outline of all the words. Step five: Remove the paper and you should have a faint outline of the words you want. Step six: Trace the outline and fill it in. I used a chalk pen which is water resistant, so it we have rain all this hard work won’t wash away. I’m rather chuffed with myself - I know I cheated a little, but I did it with my own fair hands. 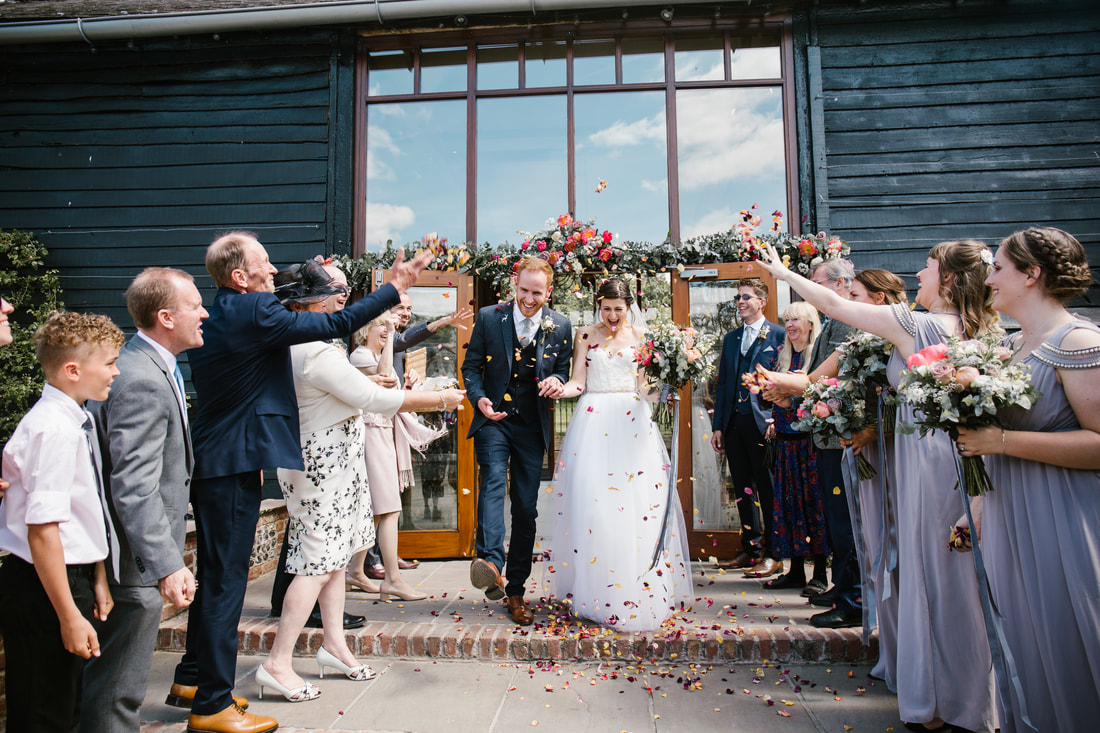 So all of that fun and work in the lead up to our wedding paid off - we had the most amazing day. I know that everyone says it is the best day of your lives and it’s true it really was. Everything went really well, we were even lucky enough to have amazing weather, it was so sunny, we were able to have drinks outside in the courtyard, it was perfect! There are a million photos, our photographer Danni was just amazing, she was there the entire day and captured beautiful photos, I don’t even remember her being there for some of the wedding, she was like a lovely tiny stealth photo pixie. We can’t recommend her highly enough, we were very lucky to find her. Peggy looked stunning! Everyone went inside and got photos, people couldn’t believe that we (Robbie, my mum and I) did it all and that we own her, we’re very proud and so glad that we could make her perfect for us - she has her own little personality. The confetti that Clare and I made was an outstanding success, it looks brilliant in the photos, the colours worked really well and there as sooooo much that my brother took his confetti last and filled his giant hands and drowned us in petals = it was hilarious! All captured in photos. The cranes worked so well, I know that the guys had some issues putting up the 800+ cranes behind the top table. They were heavier than expected and it was bowing in the middle. Apparently my dad found some wood in his car and fashioned a support that wasn’t visible! Luckily they weren’t all tangled, that was my main worry but we laid them down on Peggy’s seats for the trip to the venue and it worked. The “Pimp your Drink” was a hit! Although a few people did think that the gin was water. We did offer an large array of alcohol. Prosecco, gin and ale for the drinks reception. We actually did the speeches before dinner, I didn’t want my dad, Robbie and Jon (Robbie’s best man and brother) to worry through dinner. So we had bread and olives on the table for people to have while we did the speeches. In place of champagne for Robbie’s speech we collected vintage shot glasses for everyone and on the tables we had different drinks (port, sherry, limoncello and jagermeister for our party friends). I could talk about the wedding all day/year but hopefully the photos do it justice. I am lucky enough to not only have a mum that can make curtains, but that has also recovered a few sofas and she was willing to help me get rid of Peggy’s original bright red velvet cushions, with a slightly calmer grey. Now this post will be short and if you are looking for a step by step instruction of how I recovered the cushions, this will not be it (sorry). I really wanted to help, I really wanted to be able to contribute to the work but my mum did all most all of it!! We did strip the old material off together - which sounded like it might be quick and easy but oh my gosh those cushions were made extremely well. We used scissors, picks, screwdrivers, knives - there were a lot of staples!! I actually got Robbie and Eddie to help as my little weak hands just couldn’t do it (hehe! I played the girl card and it worked?!). After we removed all the old material, I then recovered each cushion with wadding (a slightly padded material) and then wadding stockinette (a stretchy tube of netting) and I used a running stitch to sew it all up. Luckily this part doesn’t need to be neat as it’s covered up. The purpose of this is to give the cushions more rounded sides and edges. Thank you again Eddie for your help. So this is when I have a little melt down and called my mum in tears. She said that she was having an issue with them as well and that she would finish them for me! Yay! Such a huge relief as I still had so much more to do. Part of mum’s deal was that I had to do all the buttons as she hated doing them, luckily we found this bit really fun. We brought a button cover gizmo from Amazon, really easily to use. Robbie cut out the material into circles and I covered them, there were a lot but it was something we could do together and watch TV at the same time! The I brought a GIANT needle that was long and strong enough to go through the cushions and used ribbon to secure them. We did buttons on both sides in case we ever needed to turn the cushions over. And da daaaa! We are so pleased with how they look! Before we put them in Peggy by brother treated them with a protective spray - Scotchguard just in case anything got spilt. I kind of want him to do the whole house, I thought it might feel strange and not soft, but I couldn’t tell at all - he’s a professional car valeter (Evolve Detailing) so I trusted him.
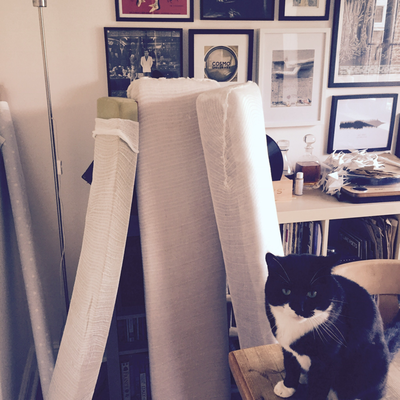
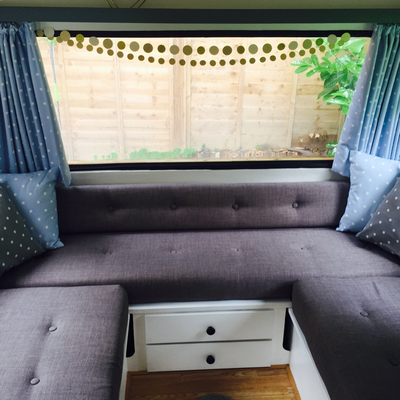
I also made matching cushions from spare curtain material, both blue and grey. We can’t wait to surprise our guests with Peggy. A massive thank you to my mum for all her help, I literally couldn’t have done it with out her. So my amazing mum has finished Peggy's curtains and I'm going to attempt to hang them. I've had instructions from mum regarding what to do, these are pleated curtains so I was "advised" to:
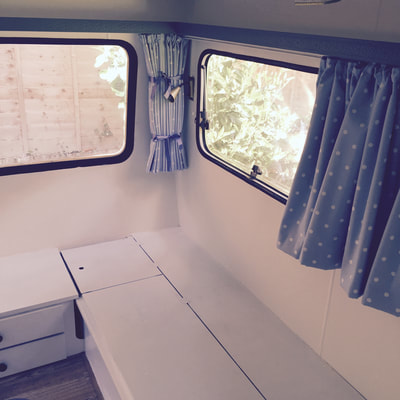
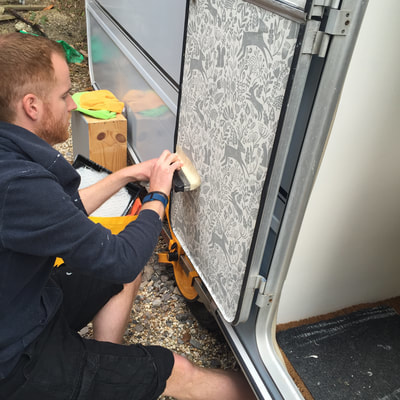
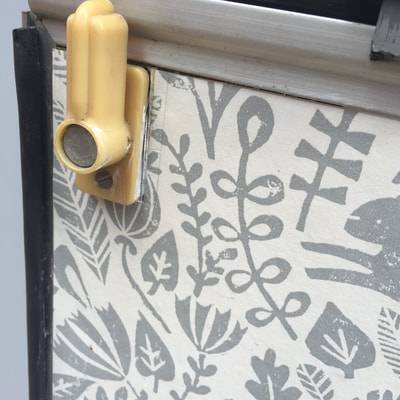
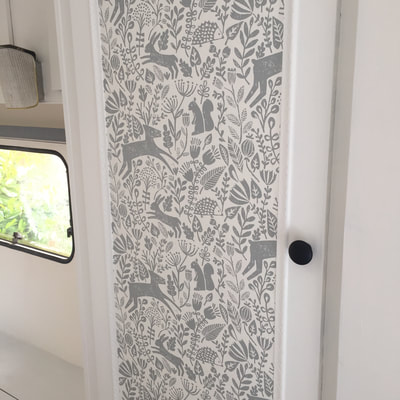
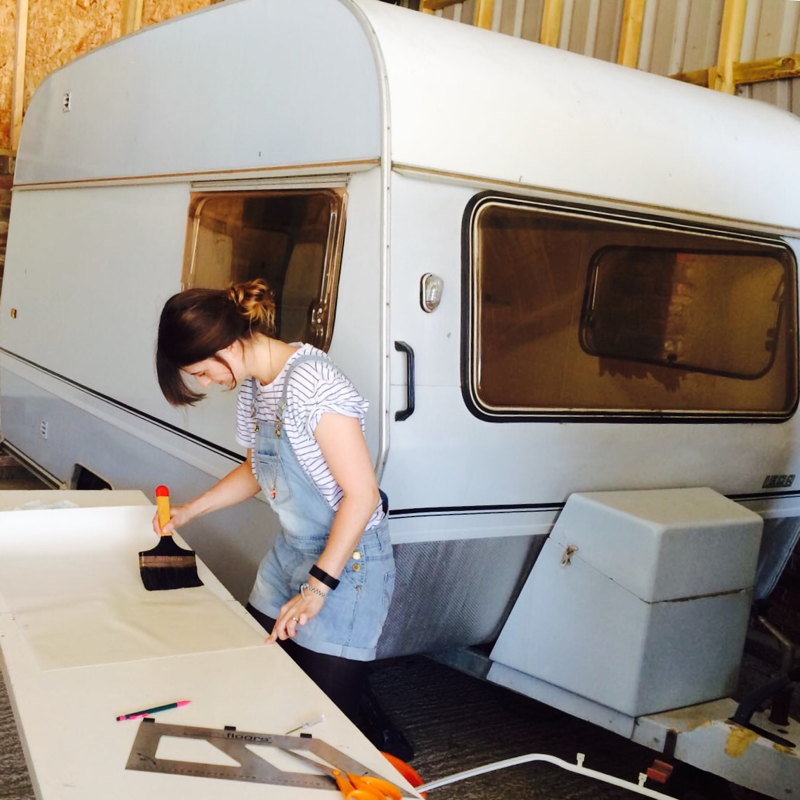
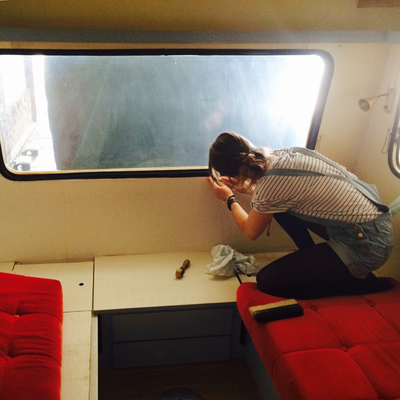
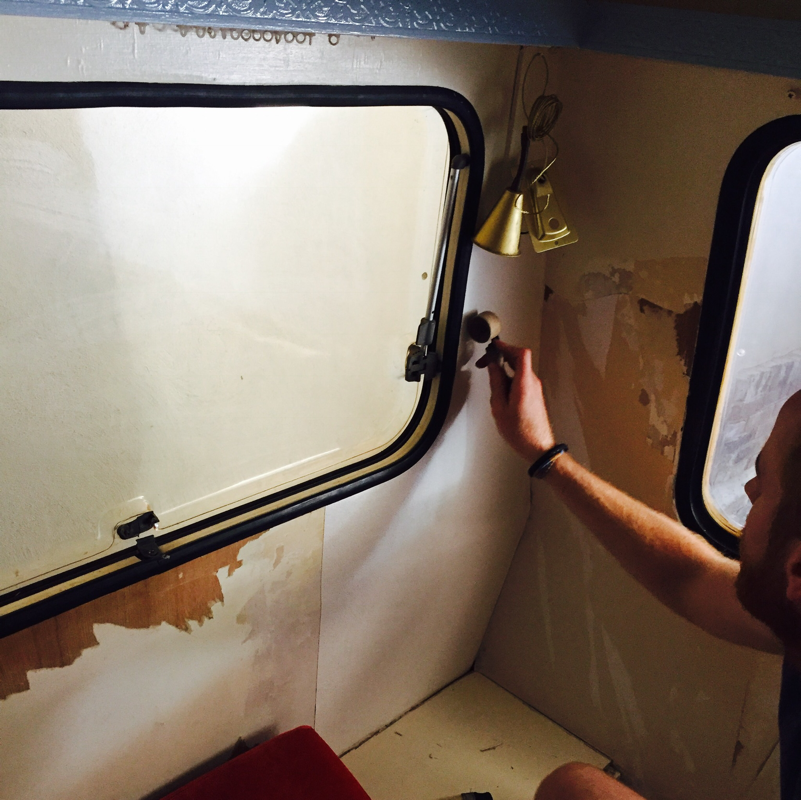
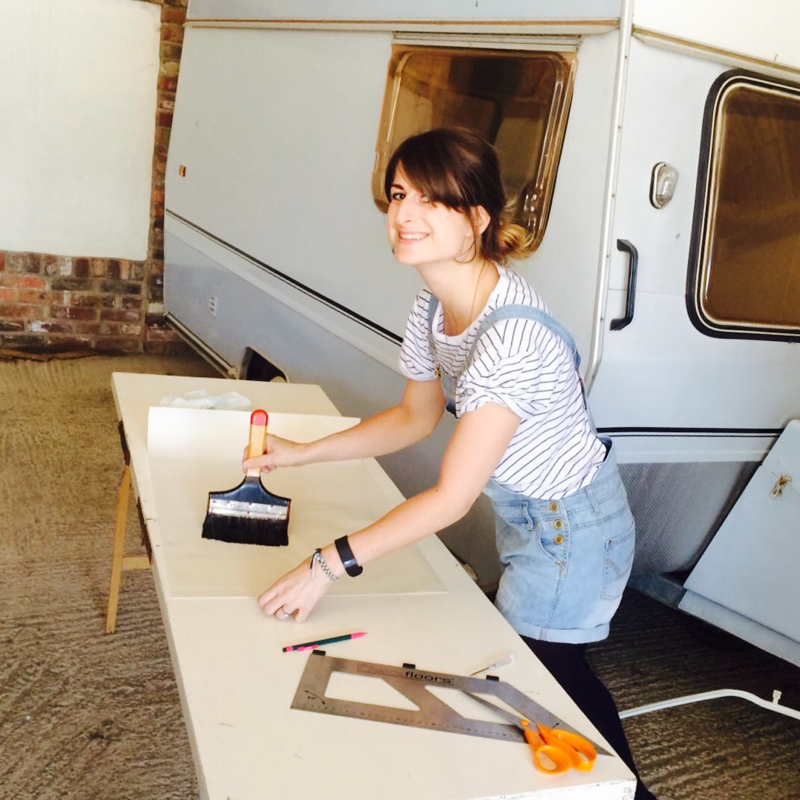
I then used ribbon to tie the curtains in position and ensured they were folded in the correct way, following the pleats. I then loosened the ribbons so they didn't dent the curtains too much. I left them like this for a few days and ta daa! The pleats will soften a little over time, but ensure the curtain fold back nicely when they are opened. 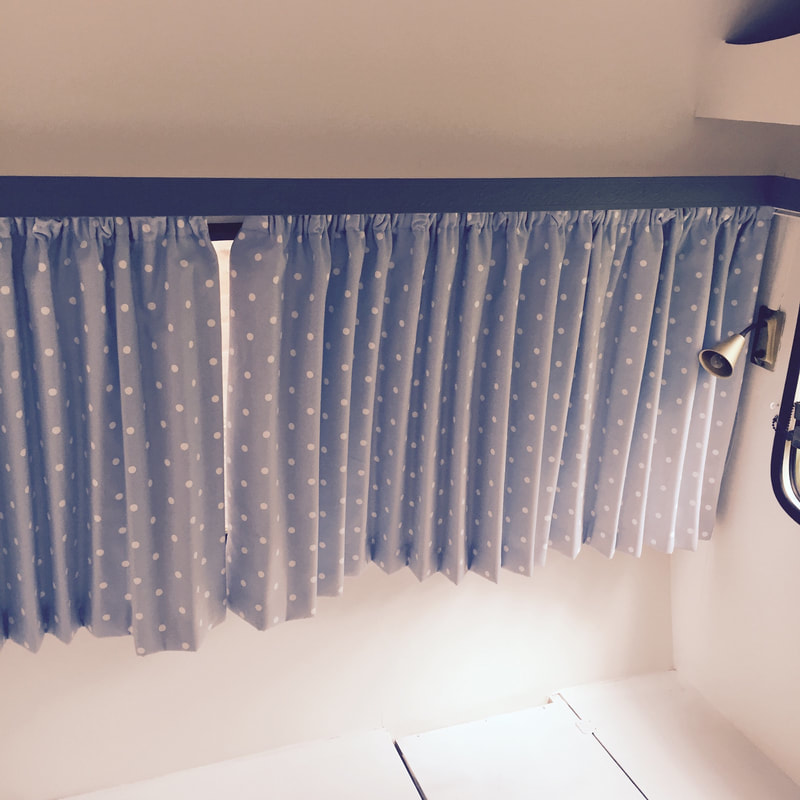 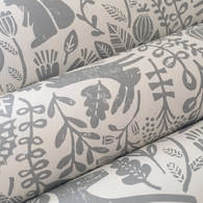 We spent quite a while choosing the right wallpaper for inside Peggy, we wanted it to complement the blue spotty curtain material and the grey sofa. We also wanted to add a pattern but not too much as it is quite a small space after all. We got a few samples and decided on Kelda by Scion in pewter from John Lewis. 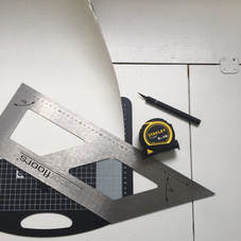 We measured everything out and only needed one roll, which was lucky as this is rather expensive wallpaper for a little old caravan! After measuring and remeasuring each small cupboard door, we cut the paper using a fresh craft knife and trusty metal ruler. Again we used the extra strong and gloppy wallpaper paste and a firm wallpaper brush. We way over applied the paste to the first cupboard - always have kitchen roll handy to wipe away the excess. So we were off..... we just kept going around the caravan, checking each piece before sticking it down. Again a few pieces needed trimming with the craft knife - do this once the paper has dried though to avoid it ripping. The fiddly bit was the inside of Peggy's front door, we only wanted to paper the lower half as the top is going to be black board painted. I was a little overzealous with the knife and we had a chunk missing by the latch, but I'm pretty proud of the patch up I did! We are so pleased with the outcome and think she looks great. Next up, hanging her curtains!
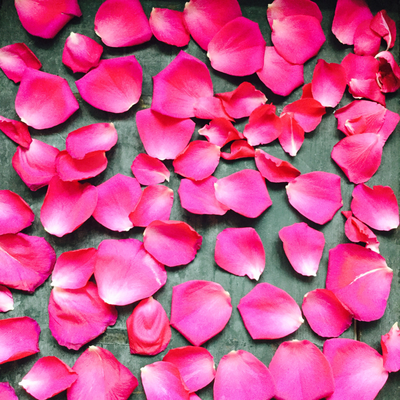
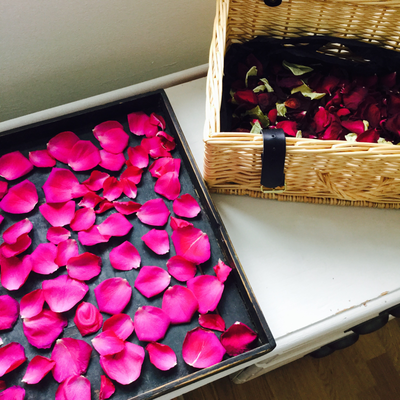
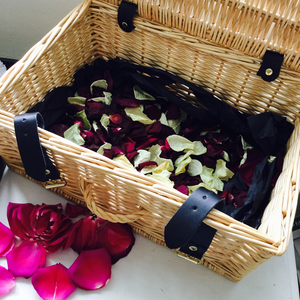 Our stunning venue had very few stipulations, but one was real petal confetti only! Which was fine with us, we were visiting the venue one day and saw the staff hand picking silver plastic heart from the floor! Now that is attention to detail but they didn't look too thrilled to be doing it. So after a quick search on Pinterest I found a diy method and gave it a go.
Well one lovely friend, Clare, took this and ran with it! Not only did she ask her husband to only buy her roses for the year lead up to our wedding - which we found to be the best petals to dry - but she was also spotted scoping up the reduced roses in the shops. Each few months Robbie comes home with a beautiful smelling box, FULL of perfectly dried rose petals in all the colours we could have hoped for. Robbie works with Clare by the way. Now with only a few months until the wedding we have enough for everyone to have a handful of handmade rose petal confetti - but something tells me there will be more to come! Thank you so much Clare. x Small note: according to Pinterest, air dried petals such as these can stain if wet so suggest using freeze dried petals if you will be throwing confetti in the rain. Update: Our confetti was perfect on the day! It worked so well and there was more than enough for everyone. Clare actually sent home another box just days before the wedding, we had so much that one of my memories was seeing my brother at the very end of the confetti line with two HUGE handfuls of confetti which, after an approving nod from Robbie, he launched at us! I was finding confetti in my dress all night! They looked perfect for the photos, we so pleased that we did this. Not only did it save a few pennies, but a few friends that had given me dying rose heads also spent some time convincing me they had seen their own petals in the confetti. So with all of the planning in place to get Peggy ready for the wedding, we need to start actually doing it! This weekend we cleared her out, took away all the cushions and started to take off the old bright wallpaper. In doing so we also took off some of the original wallpaper! Opps! It was clear that she's had a little damp at some point, which the previous owners had told us about and we'd checked it everytime we went to see Peggy and so far so good, no sigh of reoccurring damp. It did mean that we needed to do some repair work to give her a nice smooth wall surface though. So who can wallpaper the walls of a caravan? We can, apparently! We used super thick lining paper with extra strong and think wallpaper paste (we added less water than normal). We just went for it! Cutting out templates from spare paper and using a little trial and error. Around the Windows was difficult as it curved, but we also knew most of it would be covered by the curtains (argh, really need to do those!). We were really happy with the outcome, a little neatening up with a craft knife once it dries - don't try to cut wet wallpaper, it rips! So tonight the great crane making adventure begins... Ancient Japanese legend says that a crane is a holy creature that can live for 1,000 years. After folding 1,000 origami paper cranes, one for each year of its life, the majestic "bird of happiness" is able to carry that person's prayers to heaven. So it became a tradition for wives to be, to single handedly fold 1,ooo cranes before their wedding day to bring good luck to their marriage. I thought it sounded like a lovely thing to do and it also looks spectacular when hung somewhere during the wedding - Pinterest board for proof! After excitedly telling my fiancé about the story and how pretty it would look, he thought it was an excellent idea as well. He was particularly interested in the part stating that the wife has to make them...all on her own. And as a lovely gift he bought me 300 pieces of origami paper (from Japan) to get me started. They arrived today and tonight, after a few screwed up balls of paper, I made 10! Please let me introduce you to NUMBER ONE. 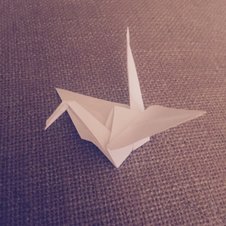  Peggy is now living at a nearby caravan storage site, with her guard goat, Gerry. Although we really like how she was decorated by her previous owners, we wanted to make her ours and also for the colours to fit with our wedding pallet of greys and blues. I'm very lucky to have a talent seamstress as mum, so she agreed to help me with new curtains and we're going to attempt to reupholster the seats.
The vibrant red velvet seat cushions will be recovered in the thick grey, flame retardant grey material. Blue polka dot curtains for the lounge/bedroom area with the grey polka dot fabric for a simple roll up blind for the kitchen, which I shall be attempting. We've researched using Smart Tiles for the splash back behind the sink and hob, it sounds like it will work well so we ordered a small sample of their Subway tiles in white, stay tuned to find out how well it works. |